webサーバといえば Apache、IIS が2大巨頭的なシェア率だった気がしていました。それがいつのまにか Nginx が第3のWebサーバと呼ばれるようになり勢力を伸ばしています。リバースプロキシやロードバランサとして使用できる軽量高速なWebサーバなんていうさわりであれば誰しもがそっちを選ぶでしょうね。
そして第4のWebサーバと呼ばれる Litespeed Web Server です。これも、いつNginx のようにブレイクするかわかりません。
仕様や動きを理解したいのですが、まずは環境を構築する必要があります。
今回は、CentOS にLitespeed Web Server をインストールしたので、手順をまとめます。
Litespeed Web Server インストール
CentOS7.3 にインストールします。Minimum インストール後に、selinux とfirewalld を無効にして、IP などを設定して通信できる状態から記載しています。php も litespeed のパッケージが用意されています。
以下URLを参考にしました。が、以下ではPHPが5.6なので、今回は7.1で構築してみました。Litespeed のリポジトリを確認すると、選択できる最新が7.1でした。
1.リポジトリインストール
|
1 |
rpm -ivh http://rpms.litespeedtech.com/centos/litespeed-repo-1.1-1.el7.noarch.rpm |
2. Litespeed、Mariadbインストール
|
1 |
yum install openlitespeed mariadb-server |
3.PHP インストール
|
1 |
yum install lsphp71 |
4.PHPの拡張機能をインストール
|
1 |
yum install lsphp71-* --skip-broken |
今回は、7.1 でインストールできるものはすべてインストールしたところ、以下がインストールされました。
|
1 2 3 4 5 6 7 8 9 10 11 12 13 14 15 16 17 18 19 20 21 22 23 24 25 26 27 28 29 30 31 32 33 34 35 36 37 38 39 40 41 42 43 44 45 46 47 48 49 50 51 52 53 54 55 56 57 58 59 60 61 62 63 64 65 66 67 68 69 70 71 72 73 74 75 76 77 |
インストール: lsphp71-bcmath.x86_64 0:7.1.10-1.el7.centos lsphp71-dba.x86_64 0:7.1.10-1.el7.centos lsphp71-dbg.x86_64 0:7.1.10-1.el7.centos lsphp71-debuginfo.x86_64 0:7.1.10-1.el7.centos lsphp71-devel.x86_64 0:7.1.10-1.el7.centos lsphp71-enchant.x86_64 0:7.1.10-1.el7.centos lsphp71-gd.x86_64 0:7.1.10-1.el7.centos lsphp71-gmp.x86_64 0:7.1.10-1.el7.centos lsphp71-intl.x86_64 0:7.1.10-1.el7.centos lsphp71-json.x86_64 0:7.1.10-1.el7.centos lsphp71-ldap.x86_64 0:7.1.10-1.el7.centos lsphp71-mbstring.x86_64 0:7.1.10-1.el7.centos lsphp71-mysqlnd.x86_64 0:7.1.10-1.el7.centos lsphp71-odbc.x86_64 0:7.1.10-1.el7.centos lsphp71-opcache.x86_64 0:7.1.10-1.el7.centos lsphp71-pdo.x86_64 0:7.1.10-1.el7.centos lsphp71-pear.noarch 1:1.10.1-1.el7.centos lsphp71-pecl-apcu.x86_64 0:5.1.8-1.el7.centos.7.1 lsphp71-pecl-apcu-devel.x86_64 0:5.1.8-1.el7.centos.7.1 lsphp71-pecl-apcu-panel.x86_64 0:5.1.8-1.el7.centos.7.1 lsphp71-pecl-igbinary.x86_64 0:2.0.4-1.el7.centos.7.1 lsphp71-pecl-igbinary-debuginfo.x86_64 0:2.0.4-1.el7.centos.7.1 lsphp71-pecl-igbinary-devel.x86_64 0:2.0.4-1.el7.centos.7.1 lsphp71-pecl-memcache.x86_64 0:3.0.9-1.el7.centos.7.1 lsphp71-pecl-memcached.x86_64 0:3.0.3-1.el7.centos.7.1 lsphp71-pecl-msgpack.x86_64 0:2.0.2-1.el7.centos.7.1 lsphp71-pecl-msgpack-devel.x86_64 0:2.0.2-1.el7.centos.7.1 lsphp71-pecl-redis.x86_64 0:3.1.2-1.el7.centos.7.1 lsphp71-pgsql.x86_64 0:7.1.10-1.el7.centos lsphp71-process.x86_64 0:7.1.10-1.el7.centos lsphp71-pspell.x86_64 0:7.1.10-1.el7.centos lsphp71-recode.x86_64 0:7.1.10-1.el7.centos lsphp71-snmp.x86_64 0:7.1.10-1.el7.centos lsphp71-soap.x86_64 0:7.1.10-1.el7.centos lsphp71-xml.x86_64 0:7.1.10-1.el7.centos lsphp71-xmlrpc.x86_64 0:7.1.10-1.el7.centos lsphp71-zip.x86_64 0:7.1.10-1.el7.centos 依存性関連をインストールしました: aspell.x86_64 12:0.60.6.1-9.el7 autoconf.noarch 0:2.69-11.el7 automake.noarch 0:1.13.4-3.el7 enchant.x86_64 1:1.6.0-8.el7 hunspell.x86_64 0:1.3.2-15.el7 hunspell-en-US.noarch 0:0.20121024-6.el7 libX11.x86_64 0:1.6.5-1.el7 libX11-common.noarch 0:1.6.5-1.el7 libXau.x86_64 0:1.0.8-2.1.el7 libXpm.x86_64 0:3.5.12-1.el7 libevent-ls.x86_64 0:2.0.21-1.el7.centos libicu.x86_64 0:50.1.2-15.el7 libjpeg-turbo.x86_64 0:1.2.90-5.el7 libmemcached-ls-libs.x86_64 0:1.0.18-1.el7.centos libpng.x86_64 2:1.5.13-7.el7_2 libtool-ltdl.x86_64 0:2.4.2-22.el7_3 libxcb.x86_64 0:1.12-1.el7 libxslt.x86_64 0:1.1.28-5.el7 lm_sensors-libs.x86_64 0:3.4.0-4.20160601gitf9185e5.el7 m4.x86_64 0:1.4.16-10.el7 net-snmp.x86_64 1:5.7.2-28.el7 net-snmp-agent-libs.x86_64 1:5.7.2-28.el7 net-snmp-libs.x86_64 1:5.7.2-28.el7 pcre-devel.x86_64 0:8.32-17.el7 perl-Test-Harness.noarch 0:3.28-3.el7 perl-Thread-Queue.noarch 0:3.02-2.el7 postgresql-libs.x86_64 0:9.2.23-1.el7_4 recode.x86_64 0:3.6-38.el7 tokyocabinet.x86_64 0:1.4.48-3.el7 unixODBC.x86_64 0:2.3.1-11.el7 依存性を更新しました: pcre.x86_64 0:8.32-17.el7 飛ばしました (依存性の問題): lsphp71-imap.x86_64 0:7.1.10-1.el7.centos lsphp71-mcrypt.x86_64 0:7.1.10-1.el7.centos lsphp71-tidy.x86_64 0:7.1.10-1.el7.centos |
5.管理者アカウントとパスワードの変更
Lietspeed Web Server では設定をGUIで行います。その管理画面にログインする際の認証情報となります。デフォルトでは、”123456”が設定されています。グローバルの環境では当然変更の必要があります。今回は検証でローカル環境に構築しているので不要ですが、試してみます。
|
1 2 3 4 5 6 7 8 9 10 11 12 13 14 15 |
[root@web02 misc]# pwd /usr/local/lsws/admin/misc [root@web02 misc]# ./admpass.sh Please specify the user name of administrator. This is the user name required to login the administration Web interface. User name [admin]: ★admin のままで良ければそのままエンター、変更したければ、ユーザ名を入力 Please specify the administrator's password. This is the password required to login the administration Web interface. Password:★パスワードを入力 Retype password:★再度入力 Administrator's username/password is updated successfully! |
6.PHP のバージョンをリンクさせる
今回インストールした7.1のバージョンを使用させる設定です。まずは、デフォルトの状態として以下となっている。
|
1 2 3 4 5 6 7 8 |
[root@web02 fcgi-bin]# pwd /usr/local/lsws/fcgi-bin [root@web02 fcgi-bin]# ls -l 合計 4676 -r-xr-xr-x 1 root root 3773 10月 5 04:34 RackRunner.rb -r-xr-xr-x 1 root root 3342 10月 5 04:34 lsperld.fpl lrwxrwxrwx 1 root root 6 11月 2 20:47 lsphp -> lsphp5 -r-xr-xr-x 1 root root 4779056 10月 5 04:34 lsphp5 |
デフォルト(↑)では lsphp の向き先が lsphp5 となっているが、この向き先を今回インストールした7.1の lsphp にしてやれば良い。
|
1 2 3 4 |
# ln -sf /usr/local/lsws/lsphp71/bin/lsphp /usr/local/lsws/fcgi-bin/lsphp # ls -l /usr/local/lsws/fcgi-bin/lsphp* lrwxrwxrwx 1 root root 33 11月 2 21:08 /usr/local/lsws/fcgi-bin/lsphp -> /usr/local/lsws/lsphp71/bin/lsphp lrwxrwxrwx 1 root root 33 11月 2 21:08 /usr/local/lsws/fcgi-bin/lsphp5 -> /usr/local/lsws/lsphp71/bin/lsphp |
7.MariaDB 起動
|
1 2 |
# systemctl start mariadb # systemctl enable mariadb |
8.Mariadb初期設定
mysqlのrootパスワードを設定しておきます。
|
1 |
# mysql_secure_installation |
9.Litespeed 起動確認
え?Webサーバの設定とか起動とか全くさわっていないんですが。。。っていう感じでWebサーバの構築が終わります。
Webブラウザからアクセスできるか確認してみます。デフォルトでは8088番ポートでリッスンしています。
|
1 |
http://172.16.10.100:8088 |
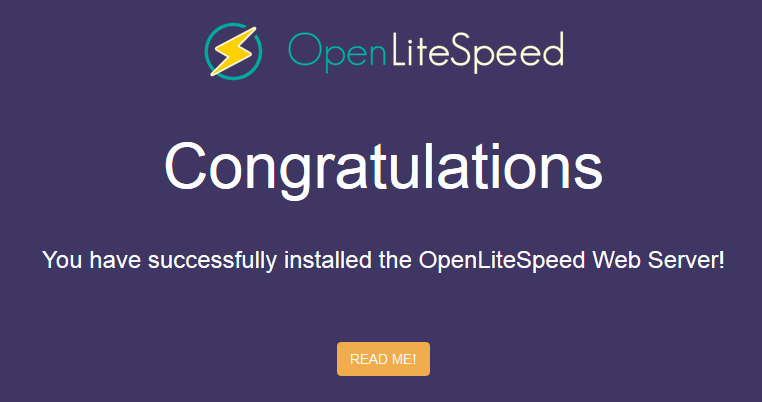
以下の画面が表示されれば起動しています。

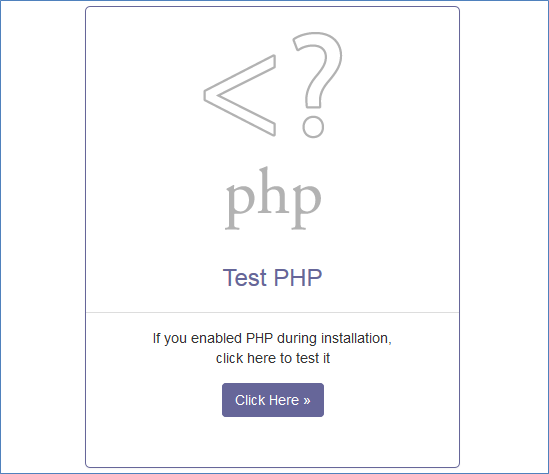
下の方にスクロールしていくと、cgi や php が動いていることの確認もできます。以下はPHPの例ですが。

たとえば、PHP なら↑の Click Here をクリックするとおなじみの表示を確認できます。(↓)

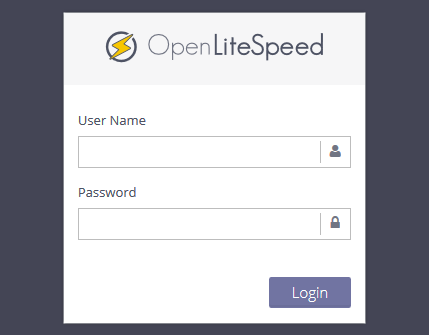
また、ポートを7080番に変更してhttpsで接続すると管理画面へのログイン画面が表示されます。
|
1 |
https://192.168.10.66:7080 |
これは先程のスクリプトで設定したadminのログイン情報でログインできます。

あ、なんだか楽しくなってきた。けど、一旦ここまでにして設定うんぬんについては、また今度まとめます。
やっぱり新しいものを触るときはドキドキしますね。
↓↓↓ 持っていると便利な一冊。

